TRANSFORM YOUR CONSERVATORY
The ProCeiling Process – Start to finish
How does it work?
The process of your
conservatory roof conversion
It may be necessary for us to visit your home and conservatory for the suitability of having a ceiling installed, however, we are often able to make an assessment if we are supplied with good quality photographs and measurements.
We will need to know the conservatory does not leak; we will answer any questions or queries and discuss any requirements you maybe have. We may be able to offer advice on lighting – for example, you may want to refit or replace your existing lighting or central fan.
From the outside, your conservatory will look the same, and you don’t need planning permission.

About Our Team
Friendly team, quality job
With the Team working in your home we really want you to be happy having them around. As well as being skilled, everyone is hand-picked because they are great with customers. We have a happy team who want do a quality job for all our customers.

Step 1
Clean Your Conservatory
Prior to installation, your conservatory will need to be emptied of furniture, pictures and blinds. We can provide advice, or help you with this if arranged in advance. This is to ensure that the Team can work safely, and that nothing gets damaged during the conservatory conversion process.

Step 2
Consultation
On arrival the Team will consult with you about the installation and what to expect during the process.

Step 3
Lighting Advice
If you have existing lights or a central fan, we can remove them for you and replace when the ceiling is finished, or help with advice on other lighting.

Step 4
Protecting your conservatory
We will cover your conservatory floor with a temporary flooring during the installation and clean up before we go, taking all waste and rubbish with us.

Step 5
Fitting the frame
A bespoke frame is fitted to the existing rafters of the roof and venting is let in to allow the new ceiling to breathe properly. Within our conservatory conversion process, any necessary aesthetic films are applied to the roof panels before the most thermally effective aluminium foil insulation is fitted and sealed.

Step 6
Fitting the best insulation & plasterboard
With the frame installed we then fit and seal the most thermally effective insulation available. Further timber battens are installed to allow fitment of the plasterboard. Owner this is complete we plater it to a smooth finish.
The insulation properties will help reduce heat loss in the winter and prevent uncomfortable heat build-up in the summer as well as reduce external sounds like rain noise.

Step 7
Decorating
The plaster needs a minimum 48 hours to dry before painting so we don’t include decorating in the price. When ready, a standard emulsion paint that will allow the new plaster to breathe is ideal.
How does it work?
Once you’ve decide to
transform your conservatory
Should you decide that you would like us to transform your conservatory we can agree on the installation dates with you and confirm these with a deposit. For your peace of mind, we offer a 5-year guarantee on all our work.
The installation will typically take from 1 – 4 days depending on the size, shape and type of conservatory you have, but usually it is 2 days. Being in your home for this time we want you to be happy having us there, so the Team is small, friendly and skilled in the installation. This ensures we are able to offer consistent quality and service for all our customers.
Our Conservatory Conversion Process – Before & After

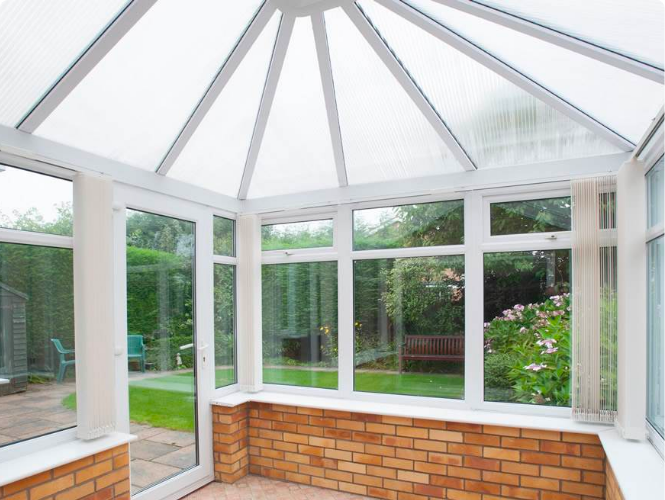
Before

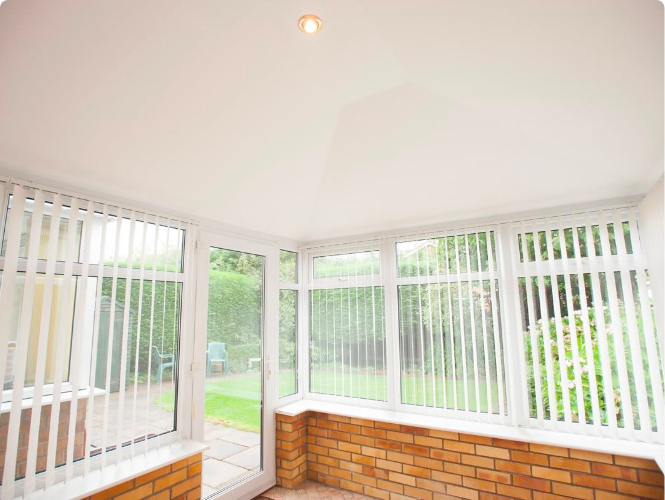
After
Ready to get started?
Transform your conservatory today!
